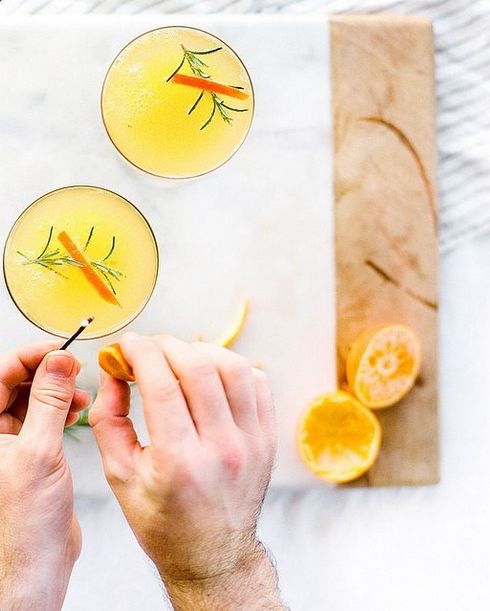
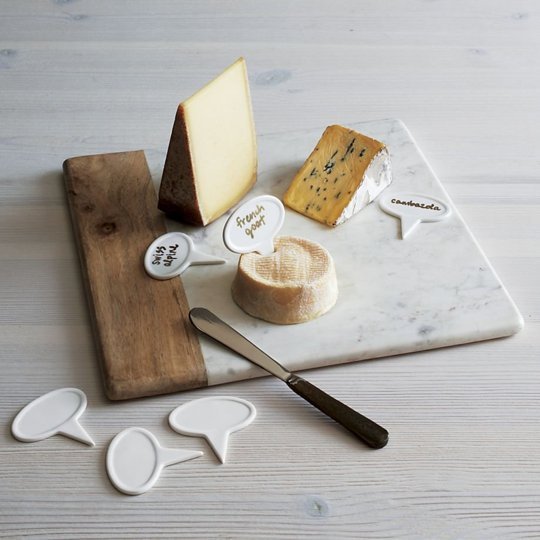
The DIY Marble and Wood serving platter is simple, fun and budget friendly!
What makes for a good DIY? Besides actual function, don’t the best DIYs generate creations that look fancy and awesome, but costs minimal? Pretty much. Then of course there’s meaningfulness, thoughtfulness and memories blablabla… Anyways, in our books, this particular do-it-yourself Marble and Wood Serving Platter checks all the boxes for a great project. The contemporary, minimalistic design captures how stunningly wood grains mirror marble grains and hosts a chic backdrop for well-textured appetizing treats. This DIY Marble and Wood serving platter is certaintly a stress free process that combines two of our favorite materials, requires little supplies and takes about 30 minutes of actual focus. Once it’s ready, you’ll want to hit the shops and invite friends over for cheese, crackers and jams — as if we needed another reason to buy fancy cheeses.

LIST OF STUFF:
Pieces of Marble & Hardwood
Birch Plywood
Scroll Saw & Tape Measurer
Sand Paper
Mineral Oil for Wood
Glue
HOW TO:
- Get the marble and the hardwood to be the same thickness and width. If you’re lucky, you may come across a piece of marble and hardwood that matches perfectly! Otherwise, it’s best to use a planer to shave down the wood for thickness.
- Next, if your combo isn’t a puzzle-piece-fit, measure and cut the hardwood accordingly.
- Measure and cut your piece of birch plywood to be the same size as the marble and hardwood when placed together.
- Take your sand paper and sand the heck of out it for awhile.
- Add a light coat of glue to both ends of the marble and wood. Let Dry. Add another coat of glue and place the two pieces together. Note: you might want to tape to avoid any glue over the edges.
- Glue the birch plywood to the back of the combined marble and wood pieces. Wipe off any excess glue.
- Gather all those heavy, hardcover books off your bookshelf and let dry overnight.
- To finish, coat in mineral oil and attach bumpers to the bottom four corners.
Check out our DIY homemade bar, here! This design was inspired by Crate & Barrel.
